
Bike Tyre Torn Sidewall Repair - Cheaper but not very sensible.
If you are silly enough to use glue to fix probably the most important part of your bike then on your head be it. If you are too cheap to buy a new tire, and would like to copy my method for sidewall repair then please carry on reading.
On the £ / $ side of things if your repair doesn't work and you wreck an inner tube, then you have wasted 20% - 50% the cost of a new tire. Like I say your choice.
Bike Tire Torn Sidewall Repair - Pop
Stones and bits of metal can lead to tears in the sidewalls of tires. The inner tube then pops out and either bursts or may jam against the frame cuasing the wheel to lock up. This is why it is very important to run tyres with repaired side walls on the REAR wheel. If the inner tube were to pop out on the front wheel it may put you over the handle bars.
Bike Tire Torn Sidewall Repair - My Tire
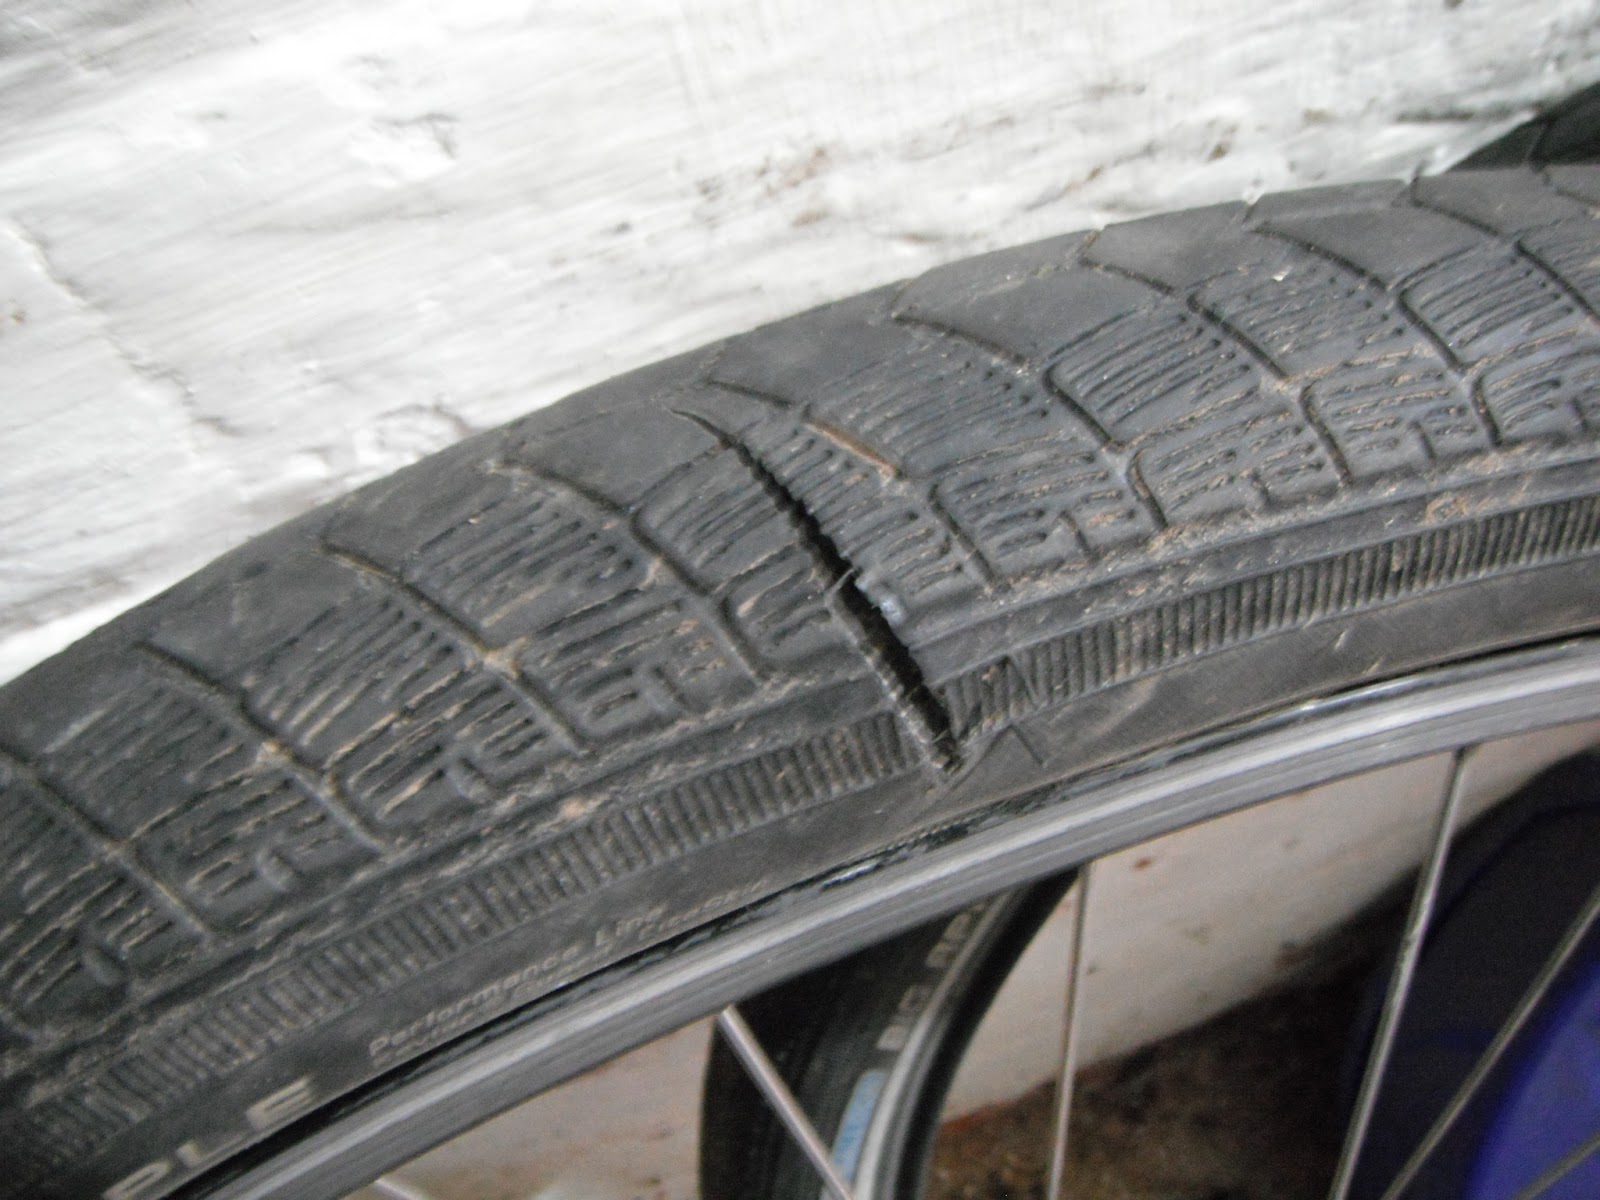
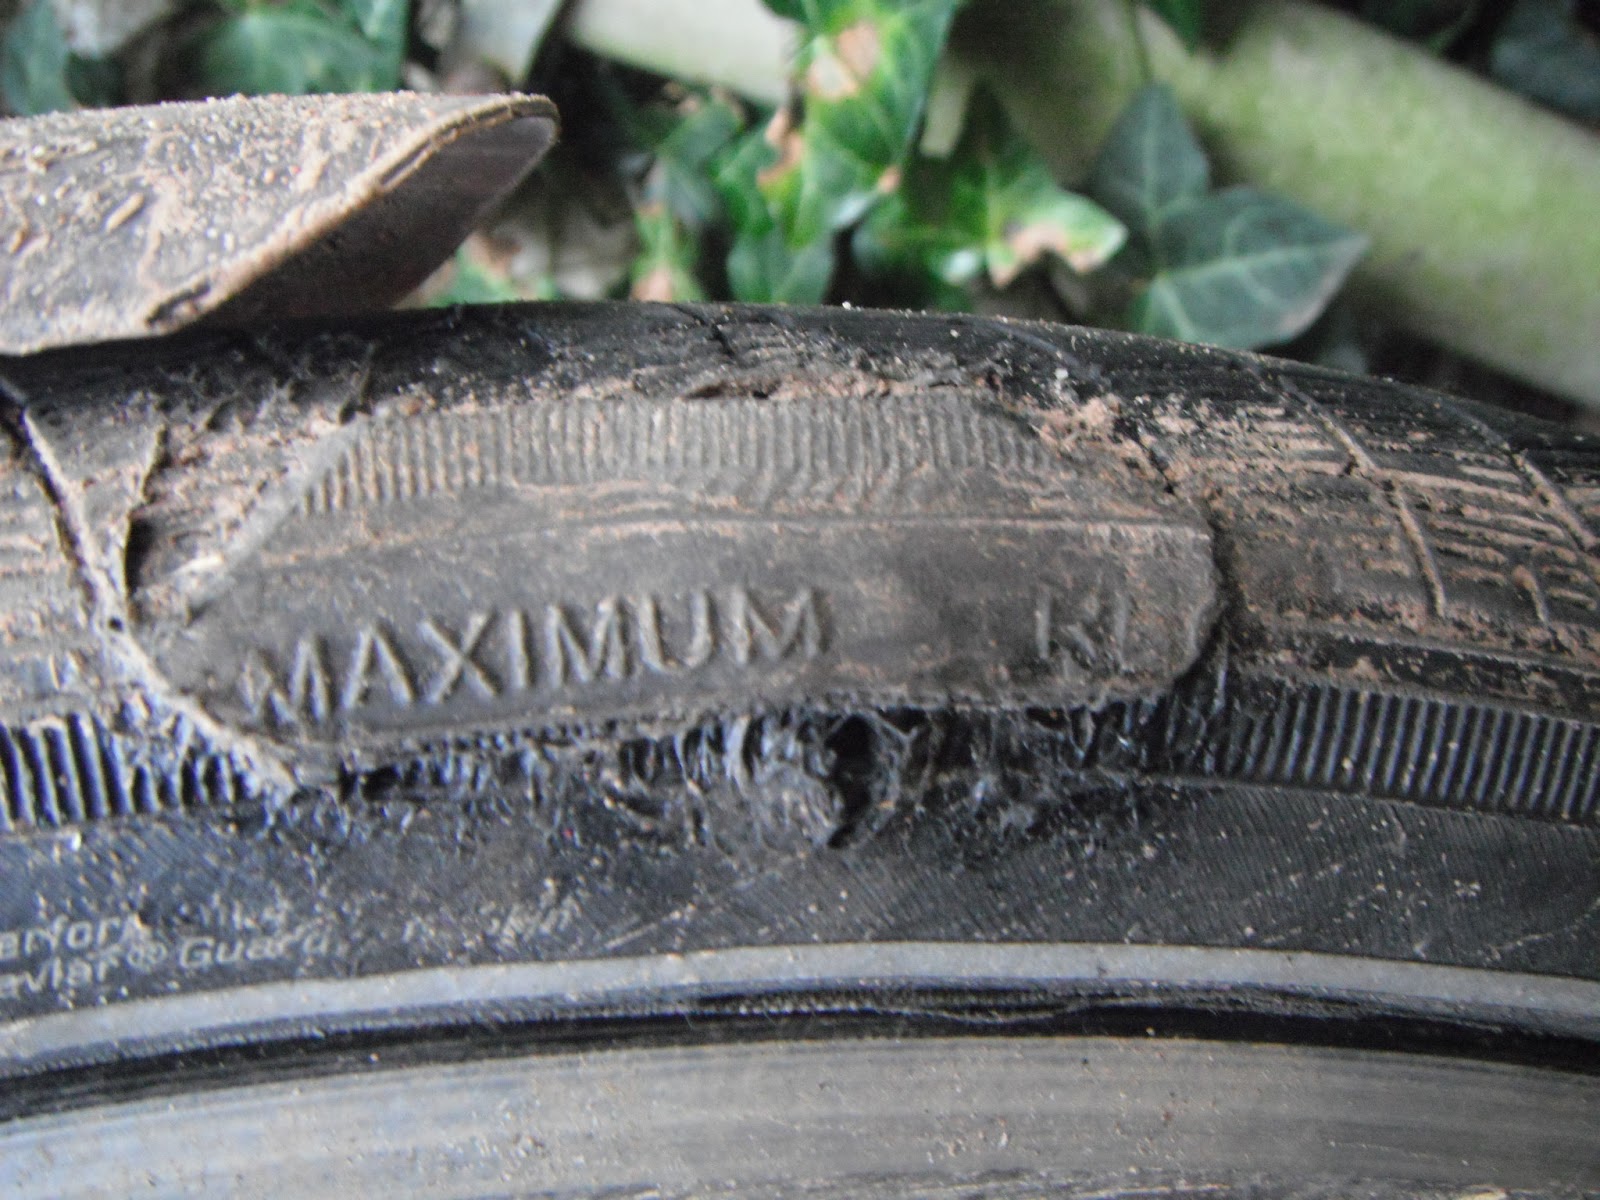
 A piece of flint did for the sidewall of my big apple kevlar tire, and so I thought I'd try and patch her up. As you can see this is a pretty big cut, but it only goes right the way through for about half of its length.
Bike Tire Torn Sidewall Repair - Things
Sand down the area adjacent to tear or cut on both the outside and the inside. If the split runs through the tread on the tire then you may have a problem, or will only be able to patch the inside.
Bike Tire Torn Sidewall Repair - Step 2
Get an old tire and cut out a strip from the side wall. Note the direction of the fibers within the tire.
 These fibers need to run 90 degrees (across) the split when you glue the patch in place so try a cut the patch accordingly.
Bike Tire Torn Sidewall Repair - Step3
Glue the patch in place. The glue should be strong and flexible when dry. You may have problems with the patch peeling off before the glue is dry. weigh the patch down with something heavy, and leave for 24 hrs.
For a few days run your tire at the minimum pressure 35 - 40 psi, and see how the patches hold up.
If you get serious buldges in the patched areas, it time to try again (it is probably the wrong glue) or get a new tire.
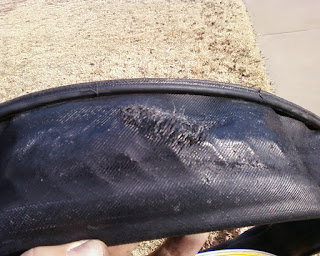
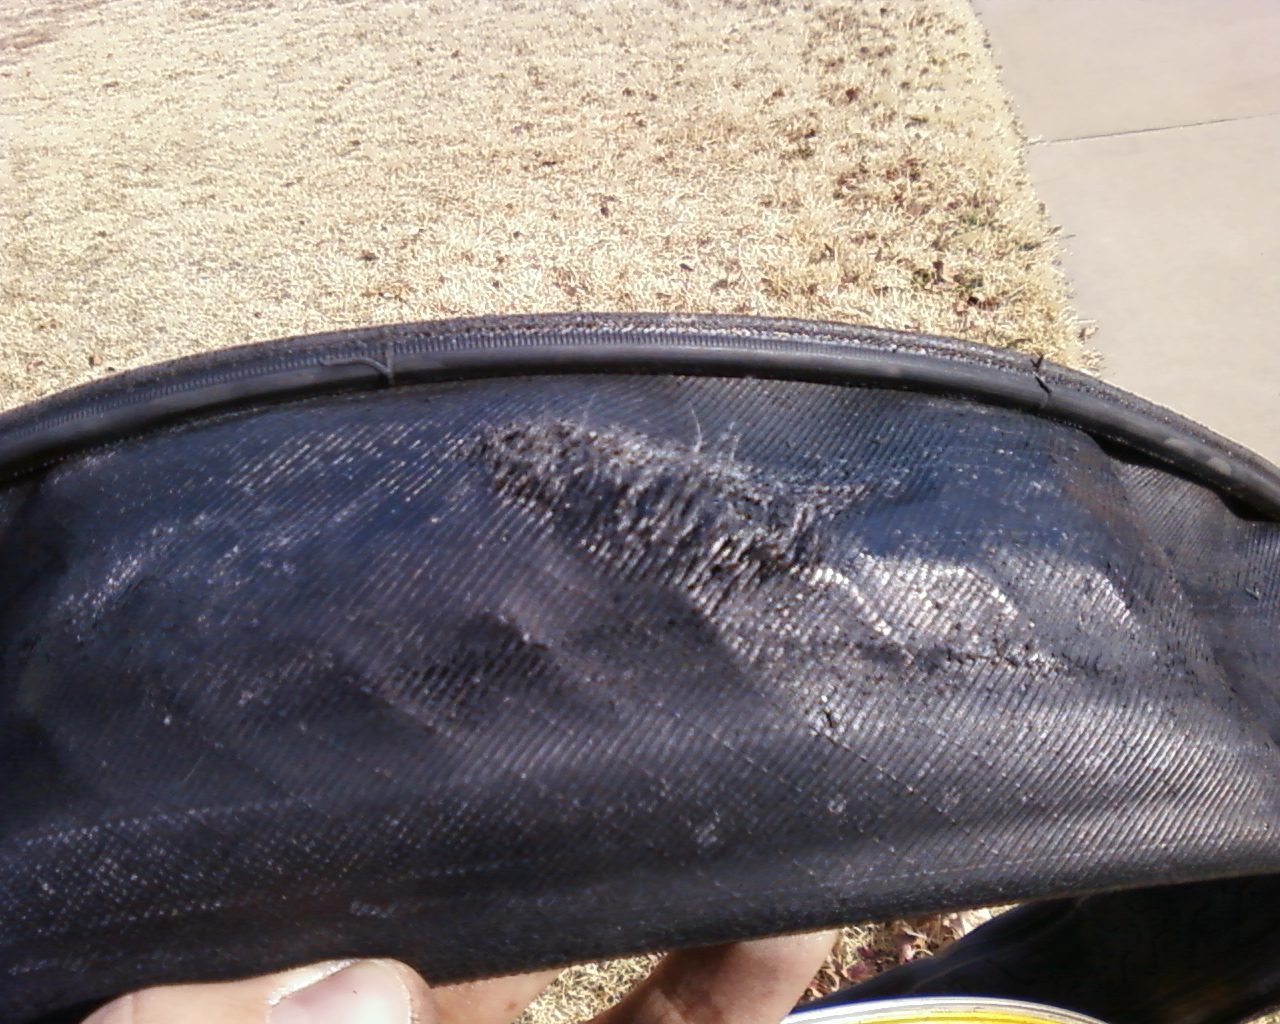
Below tire pumped up to 70 psi. Looking a bit worse for where! This was where I didn't aligns the fibers on the patch across the cut, instead they are parallel meaning the patch will stretch.

Environmental Consultants London
Environmental Consultants
Environmental Permitting
If you are silly enough to use glue to fix probably the most important part of your bike then on your head be it. If you are too cheap to buy a new tire, and would like to copy my method for sidewall repair then please carry on reading.
On the £ / $ side of things if your repair doesn't work and you wreck an inner tube, then you have wasted 20% - 50% the cost of a new tire. Like I say your choice.
Bike Tire Torn Sidewall Repair - Pop
Stones and bits of metal can lead to tears in the sidewalls of tires. The inner tube then pops out and either bursts or may jam against the frame cuasing the wheel to lock up. This is why it is very important to run tyres with repaired side walls on the REAR wheel. If the inner tube were to pop out on the front wheel it may put you over the handle bars.
Bike Tire Torn Sidewall Repair - My Tire
Bike Tire Torn Sidewall Repair - Things
- Sandpaper
- Glue - Search google product for rubber glue.
- Old Tyre Side Wall
- Scissors
- Something Heavey
Sand down the area adjacent to tear or cut on both the outside and the inside. If the split runs through the tread on the tire then you may have a problem, or will only be able to patch the inside.
Bike Tire Torn Sidewall Repair - Step 2
Get an old tire and cut out a strip from the side wall. Note the direction of the fibers within the tire.
Bike Tire Torn Sidewall Repair - Step3
Glue the patch in place. The glue should be strong and flexible when dry. You may have problems with the patch peeling off before the glue is dry. weigh the patch down with something heavy, and leave for 24 hrs.
For a few days run your tire at the minimum pressure 35 - 40 psi, and see how the patches hold up.
If you get serious buldges in the patched areas, it time to try again (it is probably the wrong glue) or get a new tire.
Below tire pumped up to 70 psi. Looking a bit worse for where! This was where I didn't aligns the fibers on the patch across the cut, instead they are parallel meaning the patch will stretch.
Environmental Consultants London
Environmental Consultants
Environmental Permitting
.JPG)

.JPG)
.JPG)
.JPG)